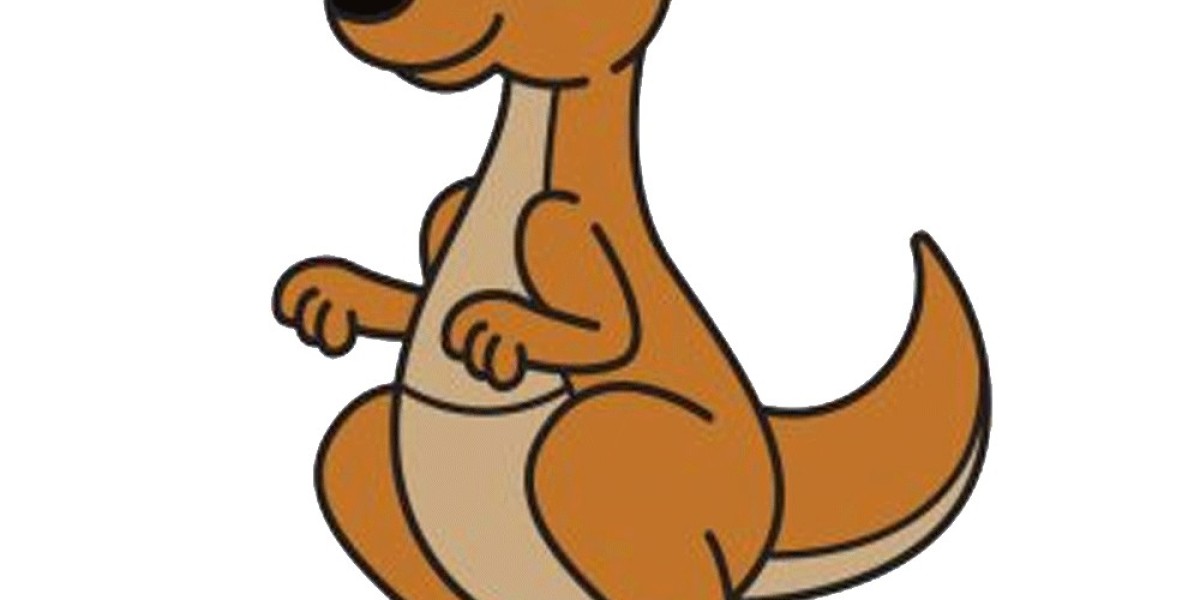
Kangaroo Drawing for kids
The kangaroo is a marsupial creature generally normally recognized for its tremendous rear legs, solid pointed tails, and long upstanding sets of ears. On account of their unbelievable huge feet, they can jump up to 10 feet and travel in excess of 30 miles each hour. Learn this blog and visit the fluttershy drawing for kid
The interest about kangaroos has made it a profoundly mentioned instructional exercise. Thus, we have made a bit by bit instructional exercise on the most proficient method to draw a kangaroo. This guide comprises of 9 simple directions matched with straightforward delineations, making drawing a kangaroo significantly more straightforward for you.
Stage 1 - kangaroo drawing
Begin by drawing a little wonderful circle shape in the upper center of your paper. This frameworks the top of the kangaroo. Keep in mind, utilize light strokes while drawing the layout. Try not to push down excessively hard with your pencil so you can undoubtedly eliminate any piece of the blueprint you may never again require later on.
To guarantee that the blueprint will be attracted the perfect place, you can make reference lines by drawing a meeting even and vertical line across the paper. The diagram of the kangaroo's head ought to be lined up with the upward line over the even line.
Stage 2 - Framework the Kangaroo's Head and Body
Draw a lopsided oval shape right under the head. The figure ought to be restricted at the top and more extensive and bended at the base. Like the head's diagram, ensure that the blueprint of the body can be handily eradicated at whatever point essential.
Stage 3 - Next, Draw the Nose of the Kangaroo
Draw a sideways U-molded bend on the left half of the kangaroo's head. Then, draw a bend at the base. This structures the nose of the kangaroo. Remember to eradicate any pieces of the layout that covers inside the nose. This helps keep your drawing more refined and in particular, slick and clean.
Stage 4 - A while later, Draw the Kangaroo's Ears
Draw two topsy turvy U-molded bends on each side at the highest point of the kangaroo's head. Attempt to make the ears uniform in shape and size. A while later, eradicate the line from the layout that covers inside the right ear. Ensure that the ears are tall and standing upstanding — it's one of the particular elements of a kangaroo!
Stage 5 - Then, at that point, Draw The two Legs of the Kangaroo
Did you had at least some idea that kangaroos can hop up to 10 feet? It's all on account of their strong legs and wide feet, which are likewise among the remarkable elements of the kangaroo. In this step, that is precisely exact thing we'll draw.
Go on by defining a bended boundary on the right half of the kangaroo's lower body to frame the legs. Then, stretch out the line to one side until you structure a sideways U-molded bend to frame the foot. A while later, bring the line upwards, finishing the type of the right leg and the foot.
Rehash similar strides on the contrary side of the kangaroo's lower body. This structures the left leg, subsequently finishing the two legs of the kangaroo.
Stage 6 - Presently, Add the Kangaroo's Sharp Tail
Draw a bended thin shape with a sharp end on the base back of the kangaroo. This makes the kangaroo's particular pointed tail. Make a point to attract the tail a point to cause it to seem like it is marginally raised upwards, as displayed in the outline.
Stage 7 - Draw the Kangaroo's Left and Right Arm
Draw a collapsed arm with three paws on each side of the kangaroo's chest. The arm can be made by defining two equal calculated boundaries while the paws are basically three associated U-formed bends. As a result of the kangaroo's shifted position, its left arm isn't completely noticeable, in contrast to its right arm.
Stage 8 - Add Subtleties and Examples on the Kangaroo
In this step, we'll add subtleties and examples all around the body of the kangaroo. This assists make your drawing with looking more intricate. Beginning from the top to the base, define a bended boundary encasing the edge of the kangaroo's nose.
Then, at that point, define an upward boundary down the length of its body and an even line to frame its pocket. Remember to include different lines each foot to make a division between each paw!
Stage 9 - Draw the Highlights on the Kangaroo's Face
Draw two standing oval shapes on the substance of the kangaroo. This diagrams the kangaroo's sets of eyes. Since the kangaroo is looking sideways, the left eye ought to be moderately more modest than the right eye. Then, at that point, add a little circle on each eye. A short time later, conceal the whole eyes while leaving out the little circle inside unshaded.
Remember to add a diagram inside the ears of the kangaroo as well as a line at the lower part of the tail to frame the underside. This includes an additional detail the kangaroo, making it look more practical.
Now that we've effectively drawn a kangaroo, it's the ideal opportunity for the most interesting part. In this step, we'll pick the varieties and shading the kangaroo. The shade of a kangaroo's fur goes from red to brown and it ordinarily blurs to a more inconspicuous tint on their underside and on the legs.
You can select to variety the kangaroo utilizing its unique tones or utilize an extraordinary arrangement of varieties. One way or the other, we're certain the tones will end up being delightful!