One such trend that has taken the beauty community by storm is the concept of the "stackable lipstack." This innovative approach to lip makeup allows you to create mesmerizing, multi-dimensional lip looks that add depth, dimension, and uniqueness to your overall makeup style. Whether you're a makeup enthusiast or a professional artist, mastering the art of the stackable lipstack can help you achieve stunning and eye-catching lip looks like never before.
What is a Stackable Lipstack?
At its core, a stackable lipstack involves layering different lip products strategically to achieve a multi-dimensional effect. This technique is akin to layering clothing for a stylish outfit; each layer contributes to the overall look while maintaining its distinct characteristics. The result is a lip look that's far from flat or one-dimensional.
Creating Your Stackable Lipstack: Step by Step
Prep and Prime: Begin with a clean canvas. Exfoliate your lips to ensure a smooth base. Apply a lip balm or primer to hydrate and create a smooth surface for the products to adhere to.
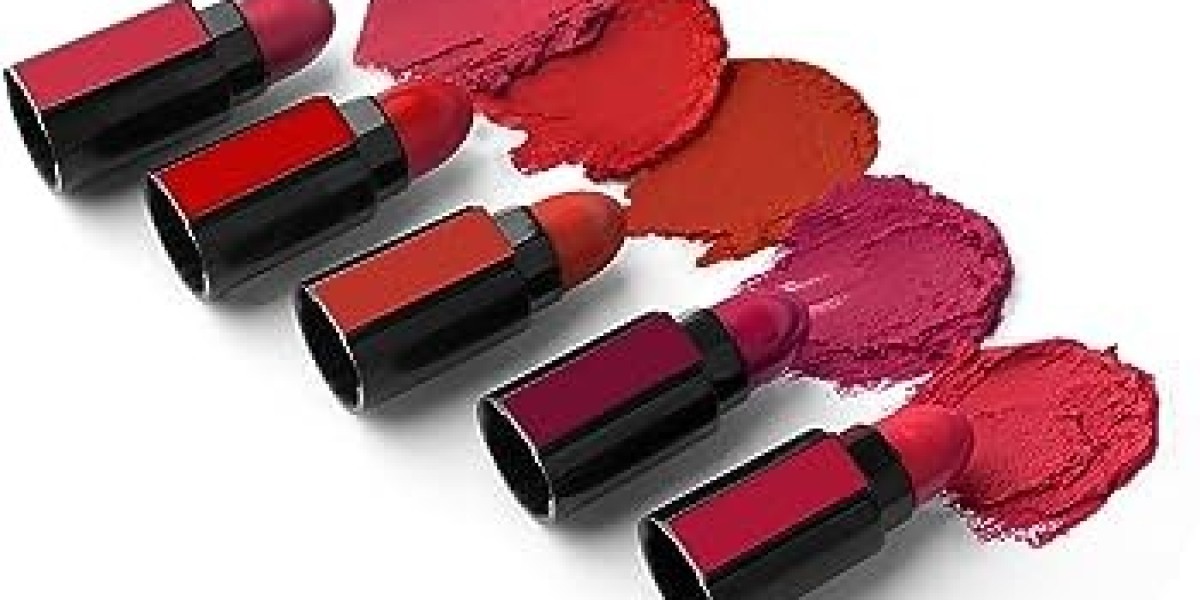
Base Lip Color: Start with a base lip color. This could be your favorite lipstick or lip stain. Choose a shade that complements your overall makeup and desired look.
Creamy Texture: The next layer should involve a creamy texture. Lip glosses or liquid lipsticks work well for this step. Apply the creamy product to the center of your lips and gently blend it outwards. This adds a pop of shine and dimension to the lips.
Shimmer and Glitter: To amp up the glamour, opt for a shimmery or glittery lip product. This step can be particularly effective for creating an ombre effect. Concentrate the shimmer or glitter on the center of the lips or along the lip's contour for a dazzling effect.
Lip Liner Definition: Use a lip liner to define the edges of your lips. A slightly darker shade than your base color can add depth and dimension. Ensure that the liner is blended well to avoid harsh lines.
Highlight the Cupid's Bow: Apply a touch of highlighter or a light, shimmery eyeshadow to the cupid's bow—the curve at the center of your upper lip. This draws attention to the lip's natural shape and adds a touch of elegance.
Blot and Set: Gently blot your lips with a tissue to remove excess product and prevent smudging. If desired, you can lightly dust translucent powder over your lips to set the stackable lipstack in place.
Experiment and Explore: Don't be afraid to experiment with different combinations of lip products, colors, and textures. The stackable lipstack technique encourages creativity and allows you to tailor your lip look to any occasion or mood.
Benefits of the Stackable Lipstack Technique
Customization: The stackable lipstack technique allows for endless customization. You can tailor your lip look to match your outfit, mood, or the event you're attending.
Dimension: By layering different textures and shades, you instantly add depth and dimension to your lips. This prevents your lip color from appearing flat and enhances the overall visual appeal.
Unique Style: The stackable lipstack technique lets you showcase your unique style and creativity. You're not limited to a single lip product – you can mix and match to your heart's content.
Photogenic: Multi-dimensional lip looks tend to be more photogenic, capturing light in intriguing ways that single-layer lip colors might not.
In conclusion, the stackable lipstack technique is a game-changer in the world of lip makeup. By layering different lip products strategically, you can achieve lip looks that are visually captivating and uniquely your own. Whether you prefer a subtle shimmer or an all-out glitter extravaganza, this technique offers endless possibilities for expressing your personal style. So, gather your favorite lip products and start experimenting – your perfect stackable lipstack awaits!