Revitalizing your home often begins with the removal of old, deteriorated insulation. blown in insulation removal is a crucial step in enhancing your living space's comfort and energy efficiency. In this comprehensive guide, we'll walk you through the process, ensuring a successful transformation from mess to success.
Understanding blown in insulation
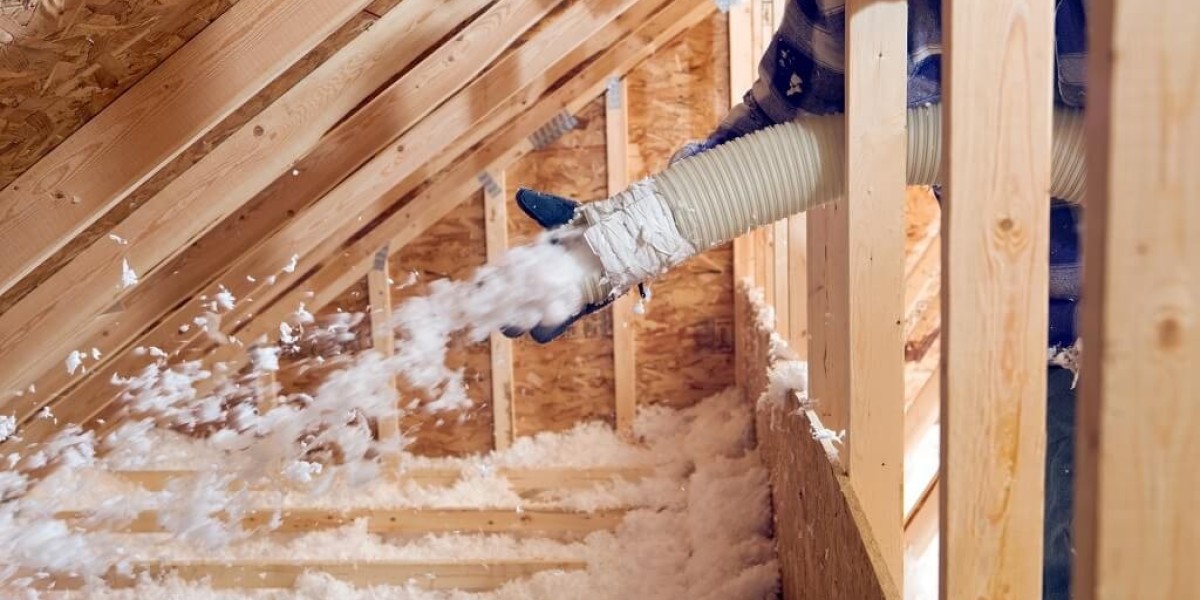
blown in insulation, composed of loose fibers or particles, is a versatile option for insulating attics, walls, and hard-to-reach areas. Over time, factors like settling, water damage, or pest infestations can diminish its effectiveness, necessitating removal and replacement.
The Need for blown in insulation Removal
Several scenarios warrant the removal of blown in insulation. Water damage is a common issue, as saturated insulation loses its insulating properties and can harbor mold and mildew. Pest infestations may also necessitate removal, as rodents and insects can compromise the integrity of the insulation. Additionally, if the insulation has become compacted over time, extraction is recommended to restore its effectiveness.
Gearing Up for the Task
Before embarking on the removal process, gather the necessary equipment and prioritize safety. Don safety goggles, a dust mask, gloves, and long-sleeved clothing to protect against potential irritants. Additionally, a high-powered insulation vacuum is essential for efficient and thorough removal.
Safety Precautions
Safety should be paramount throughout the removal process. Turn off the power supply to the area, and ensure proper ventilation to minimize inhalation of dust and fibers. If you're uncertain about any aspect, consulting a professional, such as those at Insulation Nation, can provide expert guidance.
Step by Step Removal Techniques
Preparation: Set up the insulation vacuum and secure a stable ladder. Position the vacuum strategically for optimal removal.
Creating Access Points: Identify access points, such as vents or openings, and initiate removal from these areas for a systematic process.
Working in Sections: Divide the space into manageable sections and proceed methodically. Use the insulation vacuum to extract loose insulation, starting from the top and working downward.
Inspecting for Damage: As you progress, inspect the underlying structure for signs of damage or issues that may require attention before reinstalling insulation.
Proper Disposal: Adhere to local regulations for handling and disposal of the removed insulation to ensure environmental protection.
Post Removal Steps
After successful insulation removal, seize the opportunity to address any underlying issues. This may include repairing damage, sealing gaps, or adding additional insulation as needed.
Conclusion:
Transforming your living space through blown in insulation removal is a pivotal step towards a more comfortable and energy-efficient home. By understanding the process, equipping yourself with the right tools, and prioritizing safety, you can elevate your home's overall quality. For expert guidance and assistance, reach out to the professionals at Insulation Nation.